All money and gold nugget glitches - Chapter 2
Five Chapter 2 locations where valuables respawn so you can keep collecting money and gold nuggets, in the order the video shows them.
- Reward: Repeatable money and gold nuggets
- Video time: about 16 min, plus travel
- Steps: 19
- When you can do it: Chapter 2
- Glitch: Rockstar can patch glitches in an update
- Helps with trophies: Take From the Rich, Pony Up
The step-by-step version saves your place, times your run and ticks off your Ledger as you go.
The steps
-
Location 1: the house near Three Sisters
- Where: House near Three Sisters, Roanoke Valley
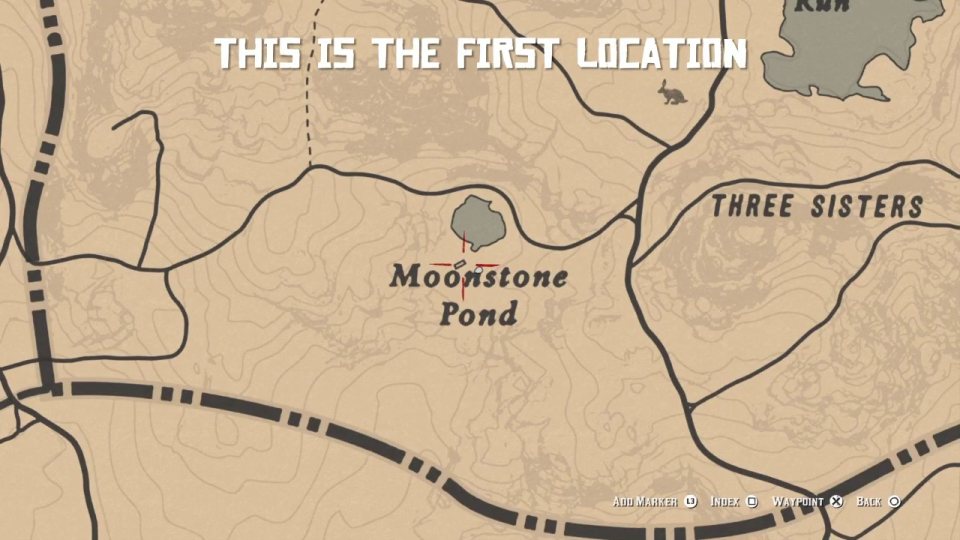
Ride to the first location - a house in the hills near Three Sisters, Roanoke Valley (map at 0:16-0:22).
- Set a waypoint near Three Sisters
- Ride to the house
-
Take the bourbon and the jewelry bag from the nightstand
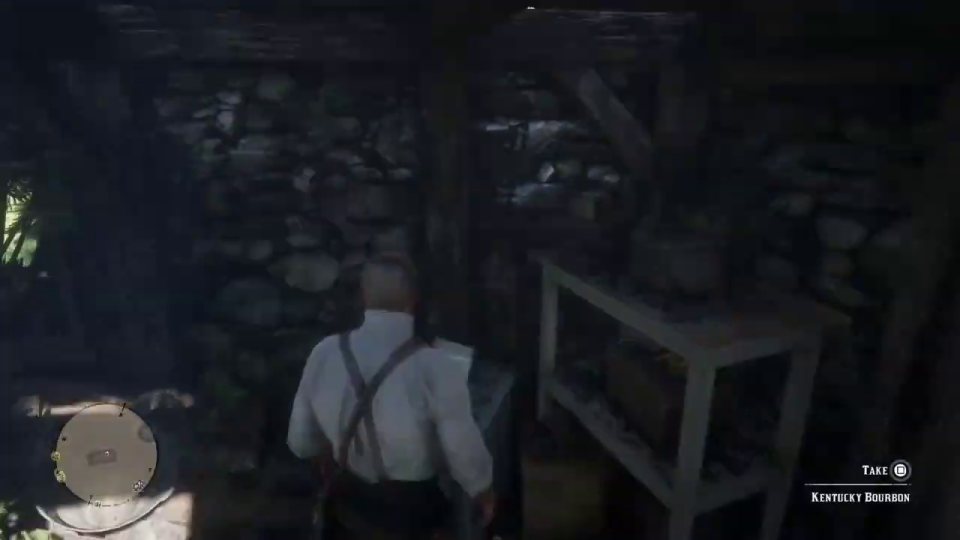
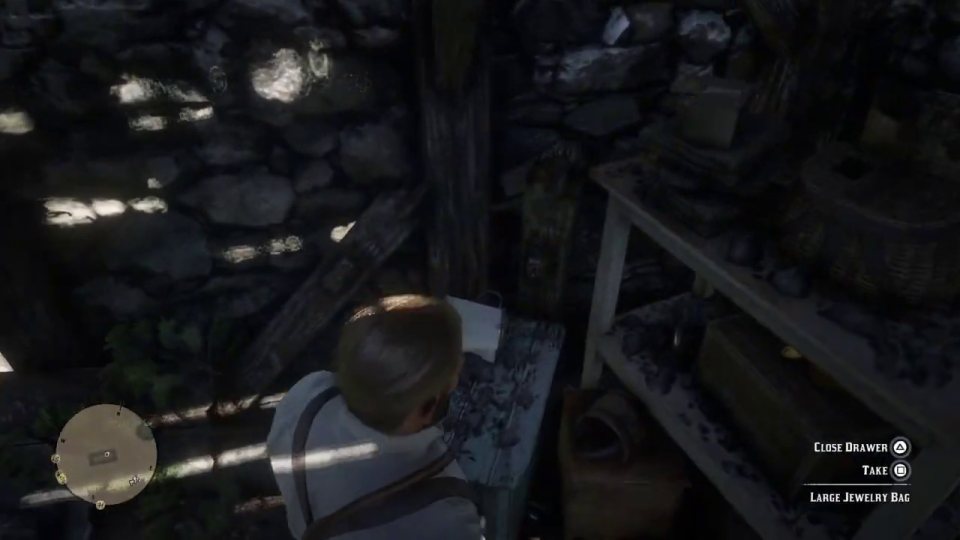
Inside, take the Kentucky Bourbon. Then SEARCH the DRAWER of the NIGHTSTAND and take the LARGE JEWELRY BAG - it is worth $50.
- Take the Kentucky Bourbon
- Search the nightstand drawer
- Take the Large Jewelry Bag ($50)
-
Walk a short way out so it refills
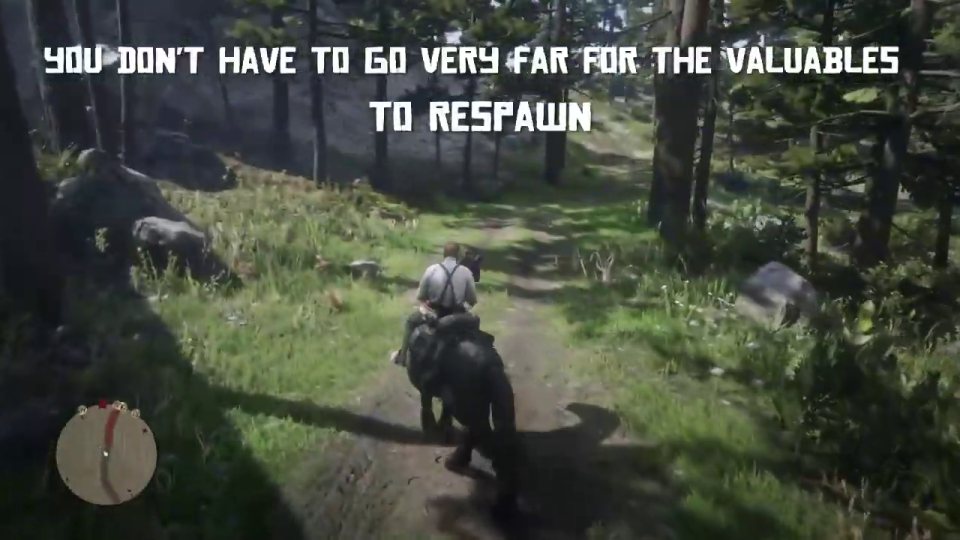
You do not have to go very far for the valuables to respawn - walk a little way from the house (the video picks wild carrots nearby).
- Leave the house
- Walk a short way away
-
Go back and take it again
Go back in and search the nightstand drawer again - the large jewelry bag is back.
- Search the drawer again
- Take the jewelry bag
-
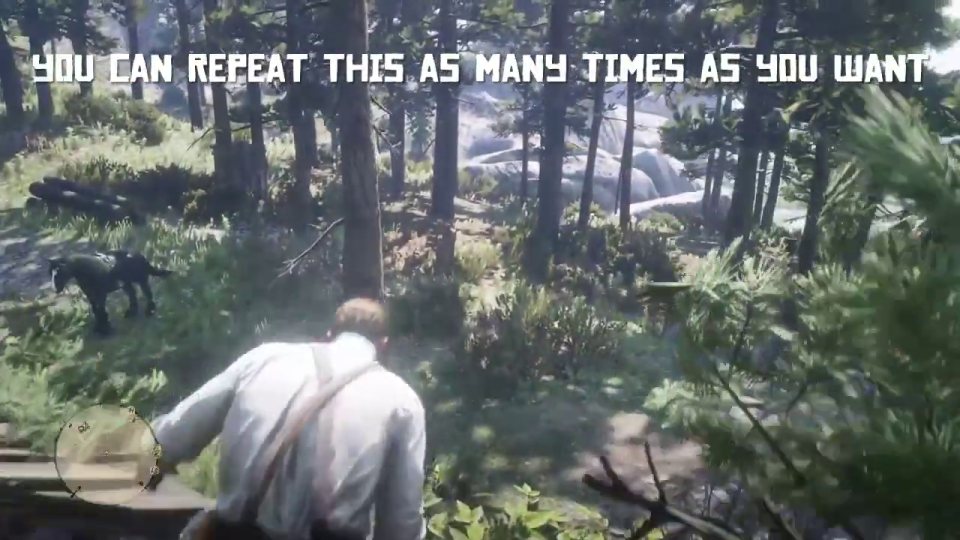
Repeat as many times as you want
You can repeat this as many times as you want.
-
Location 2: near Monto's Rest
- Where: Near Monto's Rest / Mount Shann
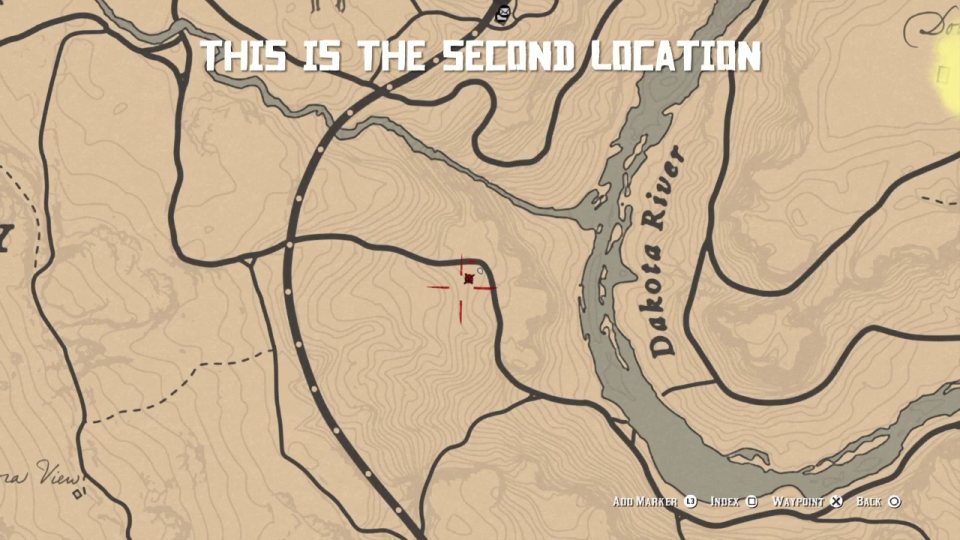
The second location - see the map at 3:54 (between Wallace Station, Mount Shann and Monto's Rest).
-
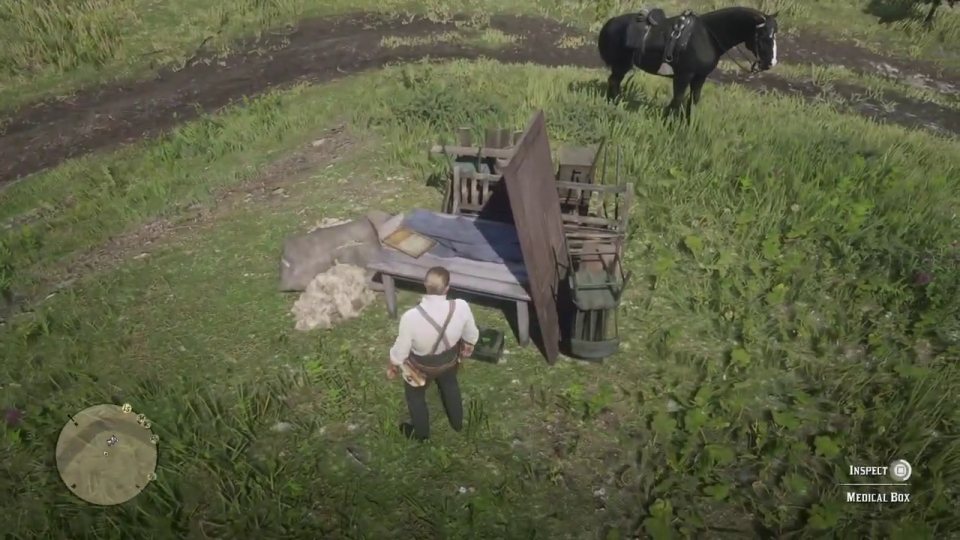
Loot the medical box
INSPECT the MEDICAL BOX and take the premium cigarettes, large jewelry bag, coin purse and miracle tonic (the cigarettes come with a cigarette card).
- Inspect the medical box
- Take everything
-
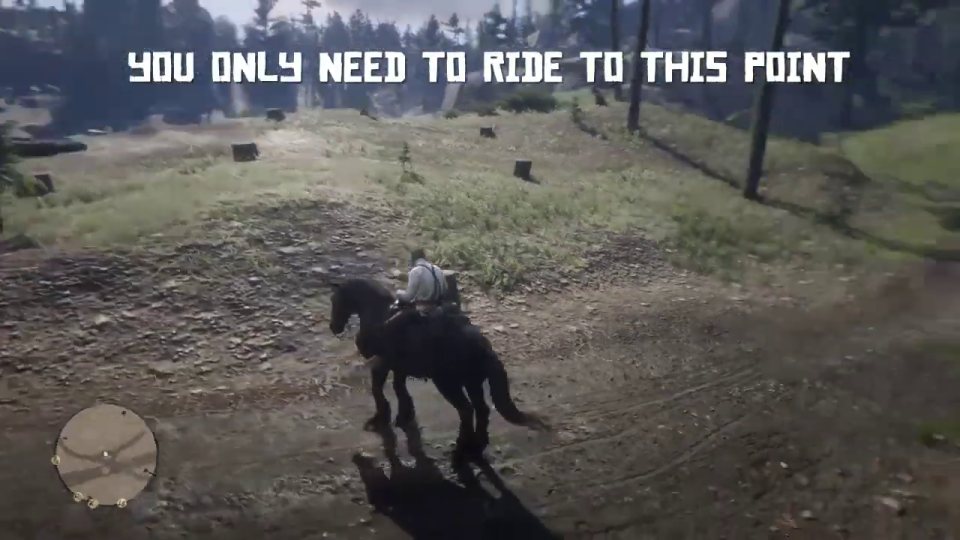
Ride to this point, then come back
You only need to ride to this point (near Diablo Ridge / Appleseed Timber Co, map at 5:00) for the box to refill. Ride back and loot it again.
- Ride to the point shown
- Ride back
- Loot the medical box again
-
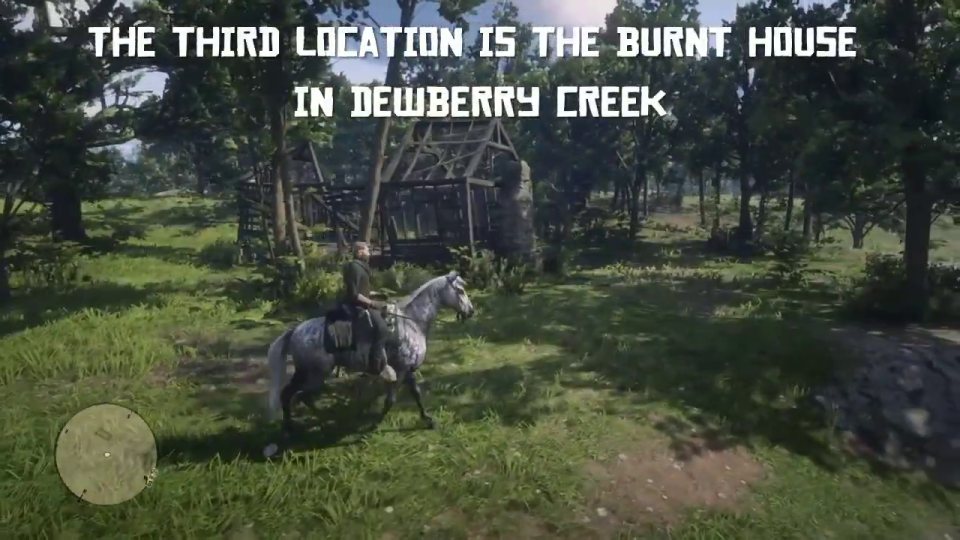
Location 3: the burnt house in Dewberry Creek
- Where: Burnt house, Dewberry Creek, Scarlett Meadows
The third location is the burnt house in Dewberry Creek (Scarlett Meadows, Lemoyne).
-
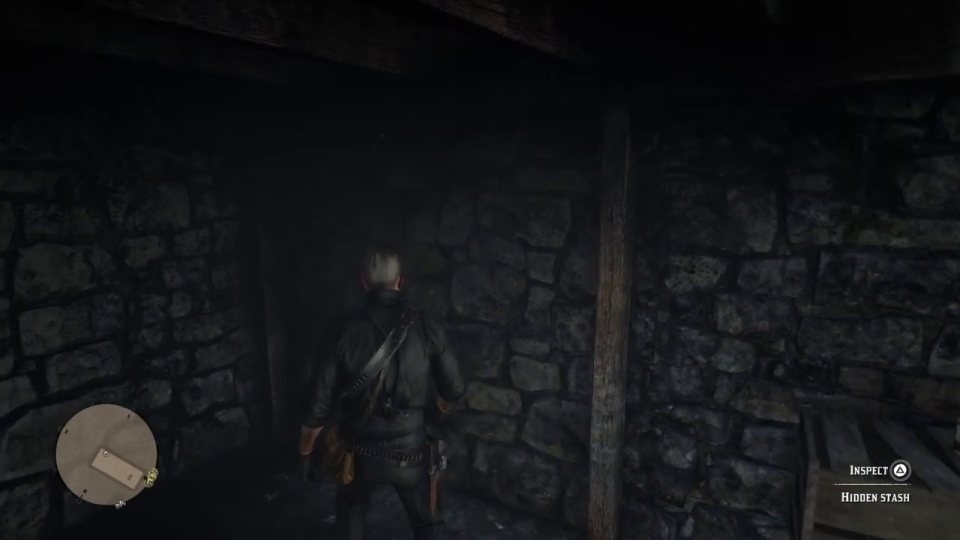
Inspect the hidden stash in the wardrobe
Open the WARDROBE and INSPECT the HIDDEN STASH inside. Take the cash.
- Open the wardrobe
- Inspect the hidden stash
- Take the money
-
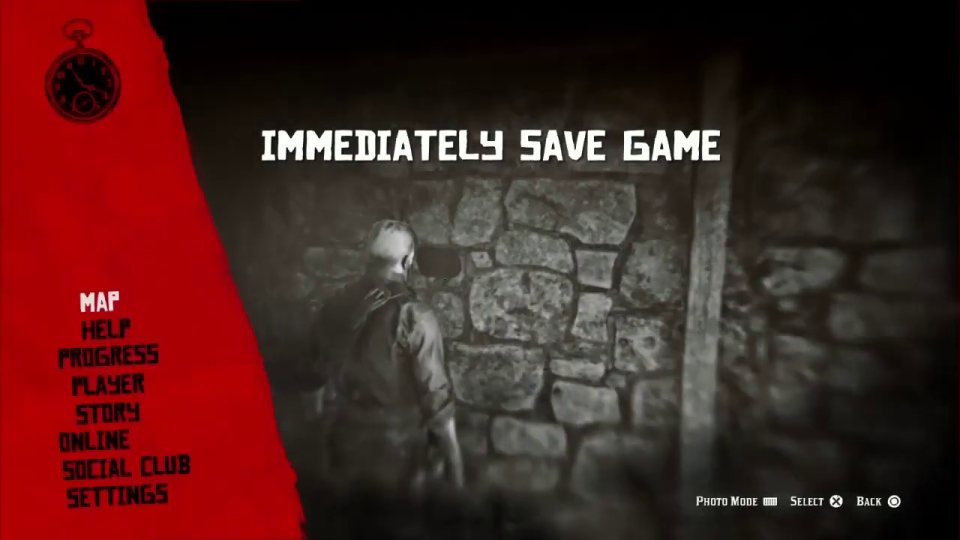
Save the game immediately
Straight away, open the menu and SAVE your game.
- Open the pause menu
- Save game
-
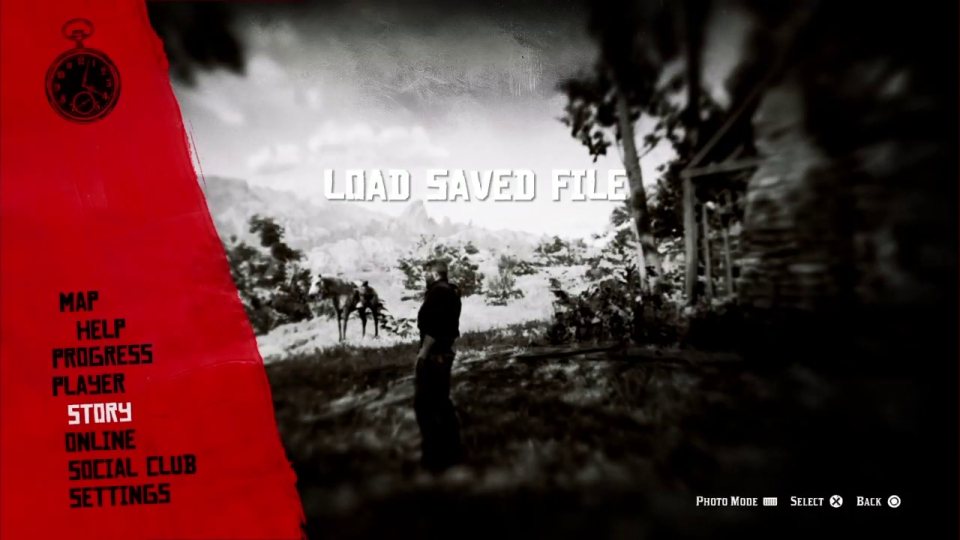
Load that save - the stash is back
Load the save you just made. The hidden stash is full again. Other looted things do NOT come back, and this one cannot be repeated forever.
- Load the save
- Take the stash again
Watch out: Other loot does not respawn, and this trick has a limit.
-
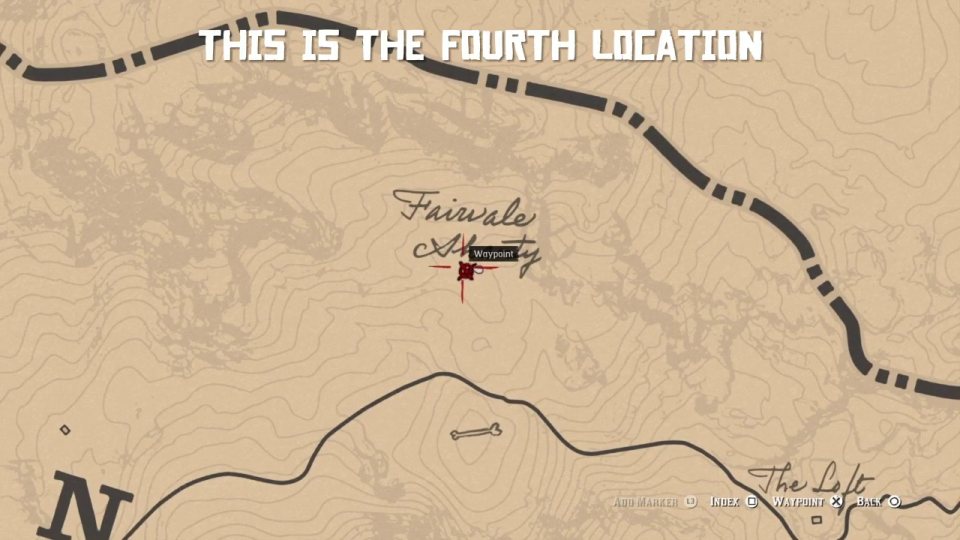
Location 4: Fairvale Shanty
- Where: Fairvale Shanty, Roanoke Valley
The fourth location is Fairvale Shanty, the little stone shack north of The Loft in Roanoke Valley.
-
Empty the lock box
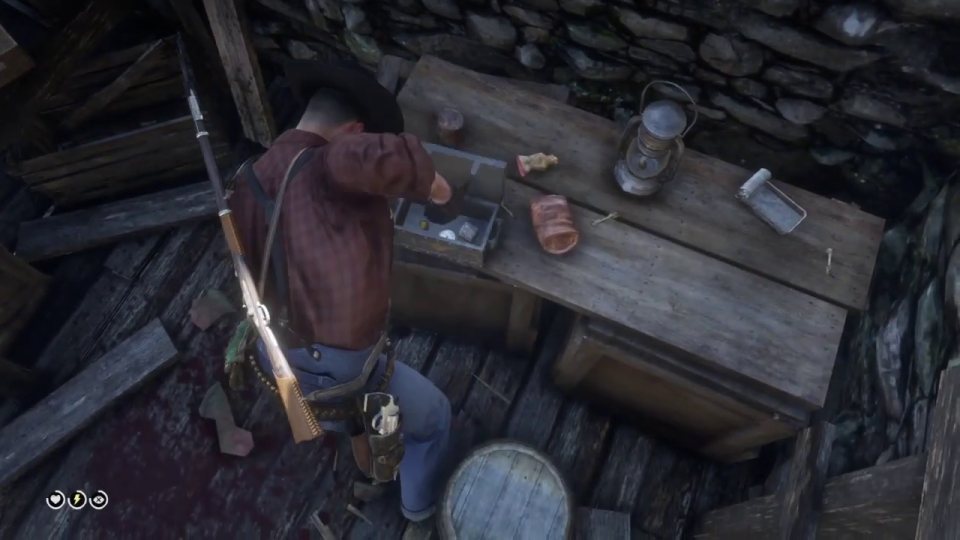
Open the LOCK BOX on the table: platinum pocket watch, jewelry (2 platinum earrings) and a gold nugget.
- Open the lock box
- Take the pocket watch, jewelry and gold nugget
-
Ride into Ambarino and back
- Where: Ambarino border
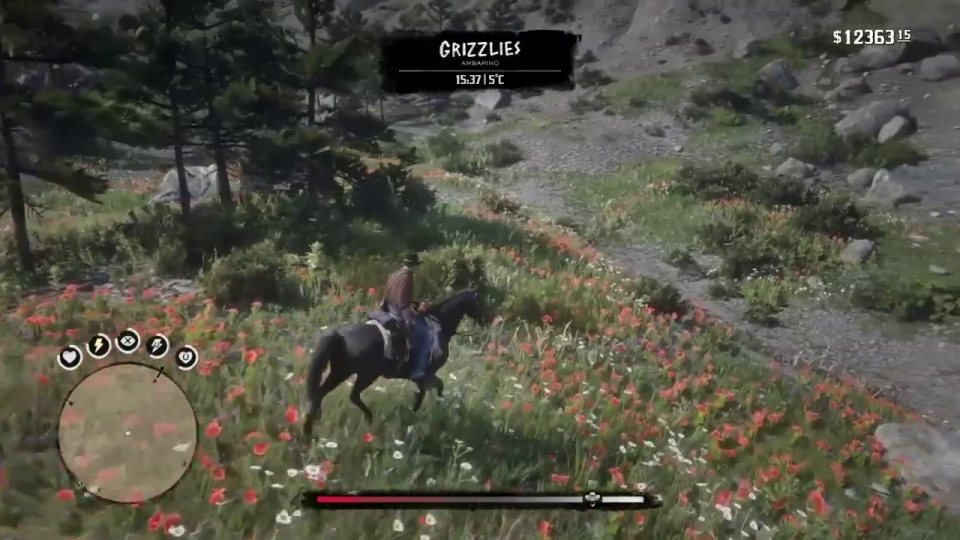
Ride away until the AMBARINO name appears on screen, then ride back to the shack - the lock box is full again.
- Ride until "Ambarino" appears
- Ride back
- Loot the lock box again
-
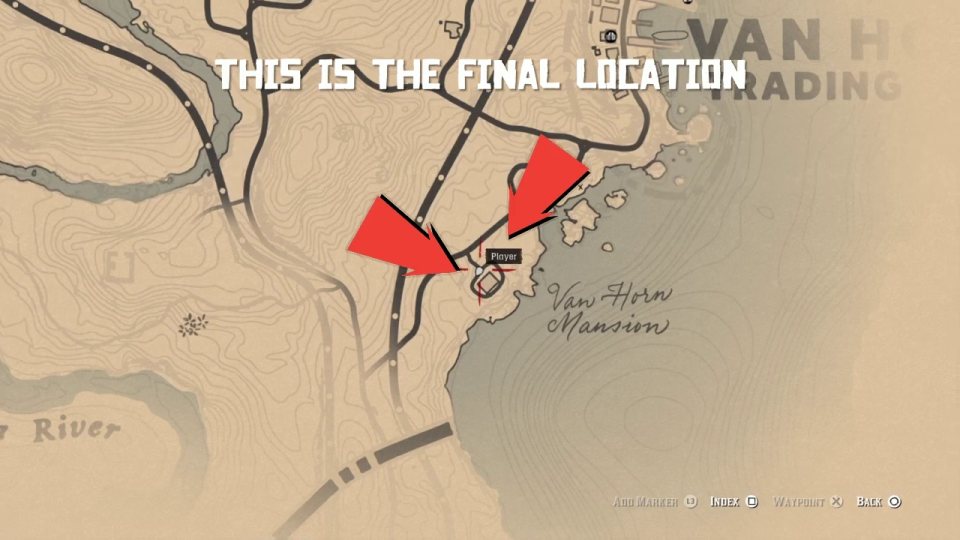
Final location: Van Horn
- Where: Van Horn, New Hanover
The final location is in Van Horn, New Hanover, near the Van Horn Mansion.
-
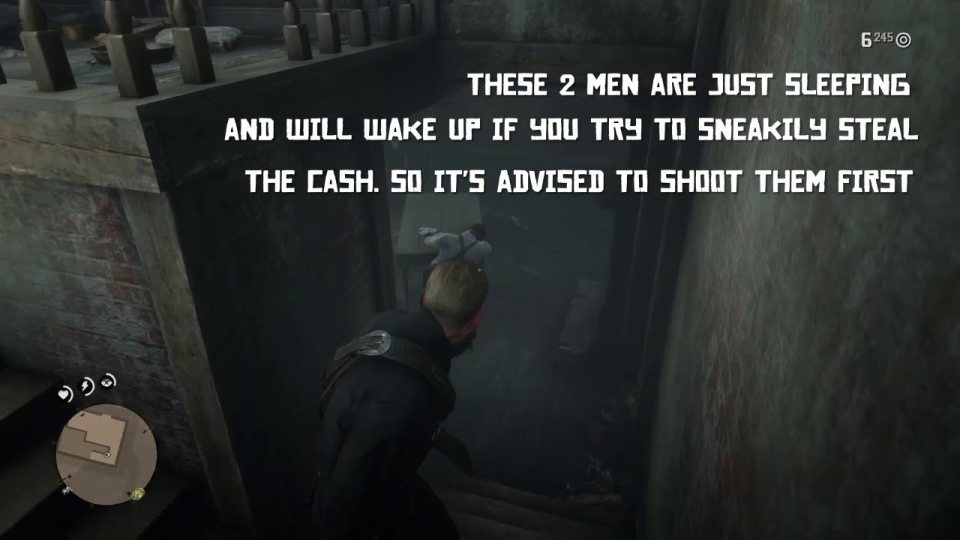
Shoot the two sleeping men
These 2 men are just sleeping and WAKE UP if you try to sneak the cash - so shoot them first.
Watch out: They wake up if you sneak.
-
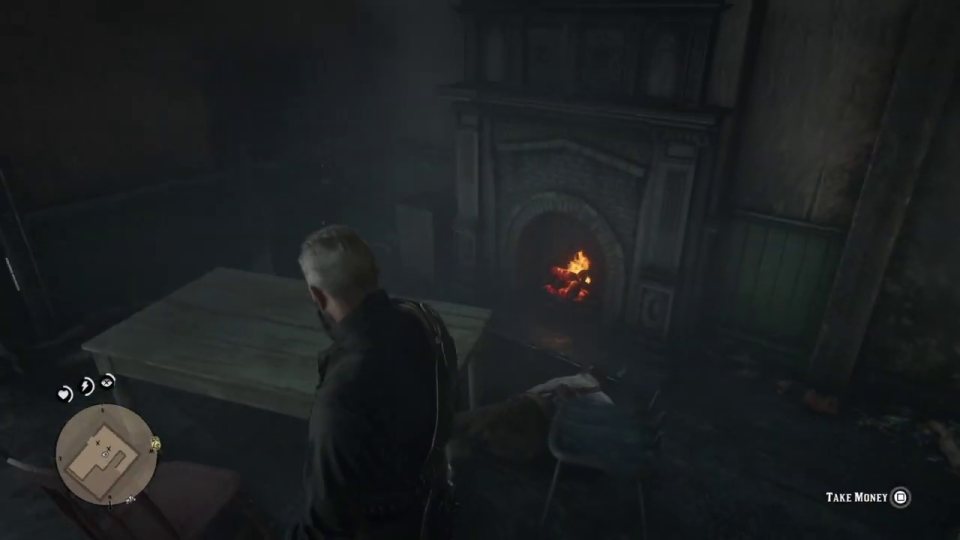
Take the money and save right there
Take the money from the table by the fireplace, then straight away open Pause > STORY > SAVE GAME.
- Take the money
- Pause > Story > Save Game
-
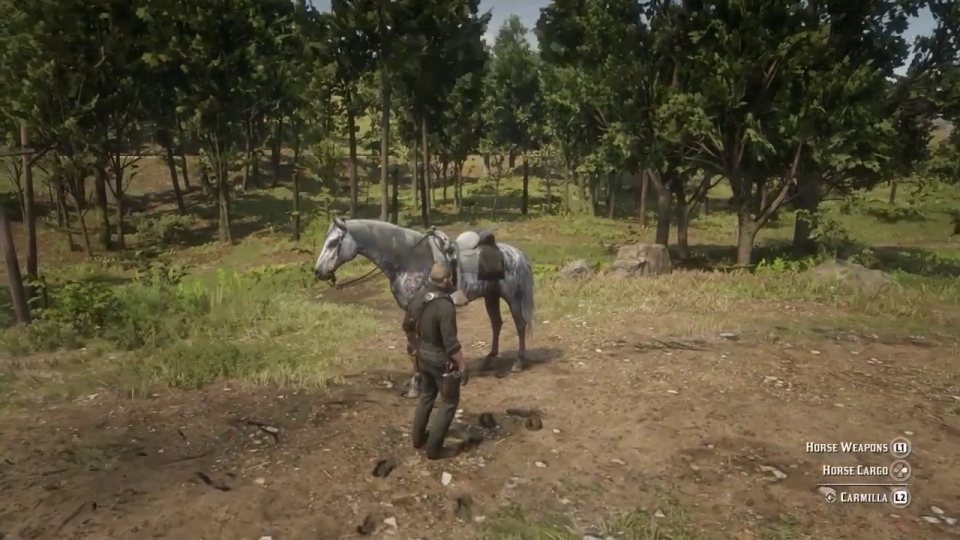
Load your recent save - same money again
Load the save. You have the money AND the cash is back. Repeat as many times as you want.
- Load the recent save
- Collect the cash again
More money and gold guides
- All Chapter 2 treasure hunts (gold bars)21 gold bars + 1 ingot. Video time about 22 min
- Gold nugget locations (Chapter 2)Gold nuggets to sell. Video time about 4 min
- Easy money spots: stashes, house raids and Van Horn (Chapter 2)Cash and valuables. Video time about 8 min
- Van Horn Mansion endless money glitchRepeatable cash. Video time about 3 min
- All Gold Bars + 1 Ingot - Chapter 221 gold bars + 1 ingot. Video time about 25 min